
Process
3 Steps To A Better Floor
From Foundation To Final Finish.
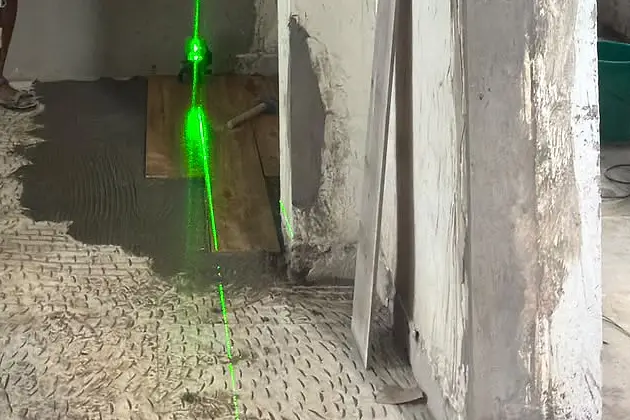
Perfect Surface Preparation
A quality installation starts with the base. We inspect and prepare the surface before flooring installation.
- Surface condition assessment
- Floor levelling
- Accurate measurements
- Subfloor preparation
- Correct slope where required
- Clean installation base
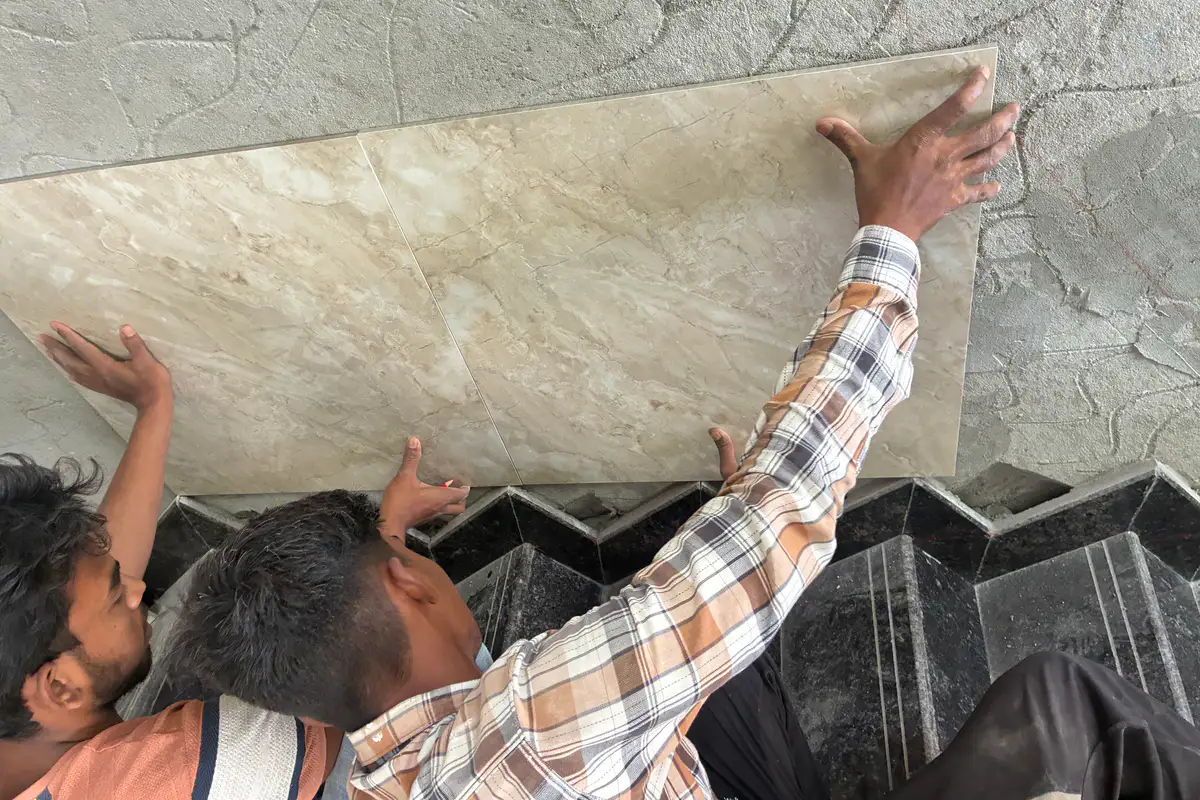
Precision Installation
Our installation team uses professional tools and techniques to achieve accurate placement.
- Laser-guided alignment
- Clip & wedge levelling
- Tile vibrator for full adhesive contact
- Consistent spacing
- Strong adhesive bonding
- Careful cutting
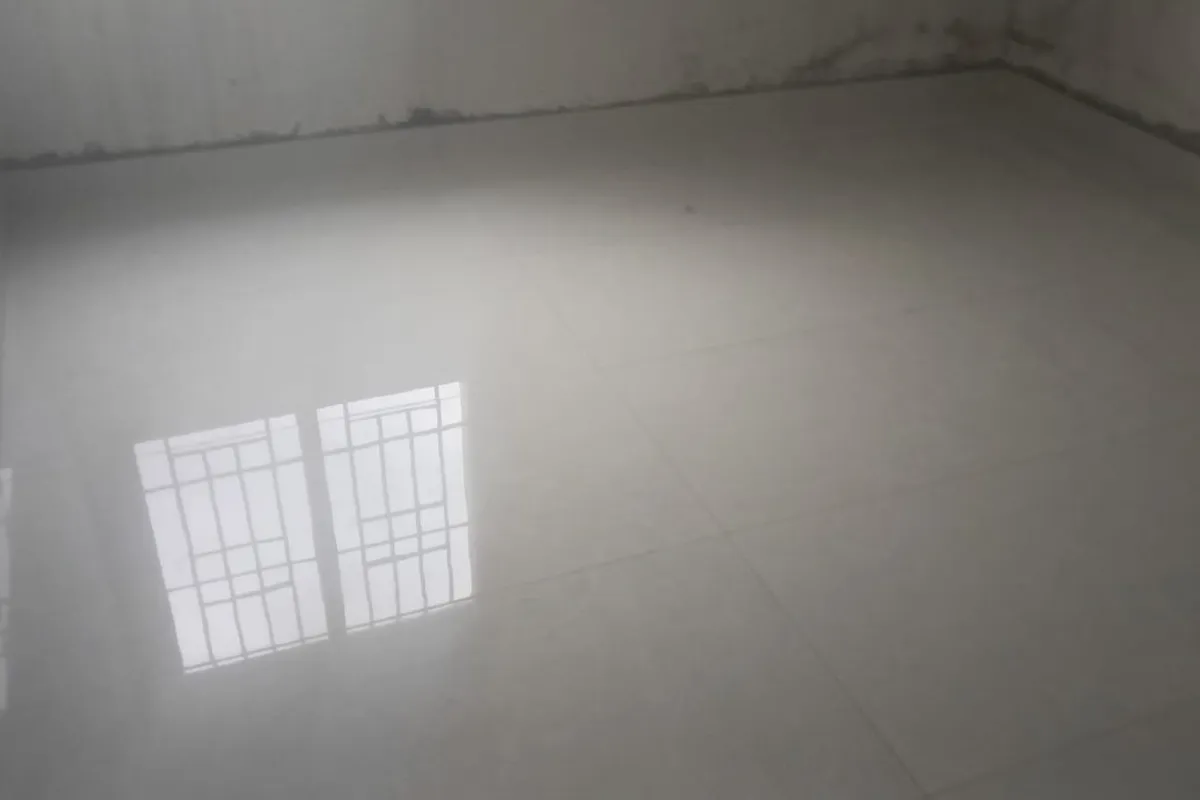
Finishing & Quality Check
Before handover, the completed floor is checked for alignment, joints, edges and overall finish.
- Clean grout lines
- Smooth edge finishing
- Joint inspection
- Surface inspection
- Neat transitions
- Final quality check
Technology & Equipment
Precision Powered By Technology
Technology supports craftsmanship. Nexa Floors uses professional tools and advanced equipment to improve accuracy across measurement, preparation, cutting, alignment and finishing.
Laser-Guided Cutting & Alignment
Cleaner Cuts. Better Alignment. Refined Finishing.
Advanced laser-guided equipment helps the installation team achieve greater accuracy while maintaining careful workmanship throughout the project.
- Straight, accurate cuts
- Precise alignment
- Cleaner joints
- Better edge consistency
- Reduced material wastage
- Higher accuracy
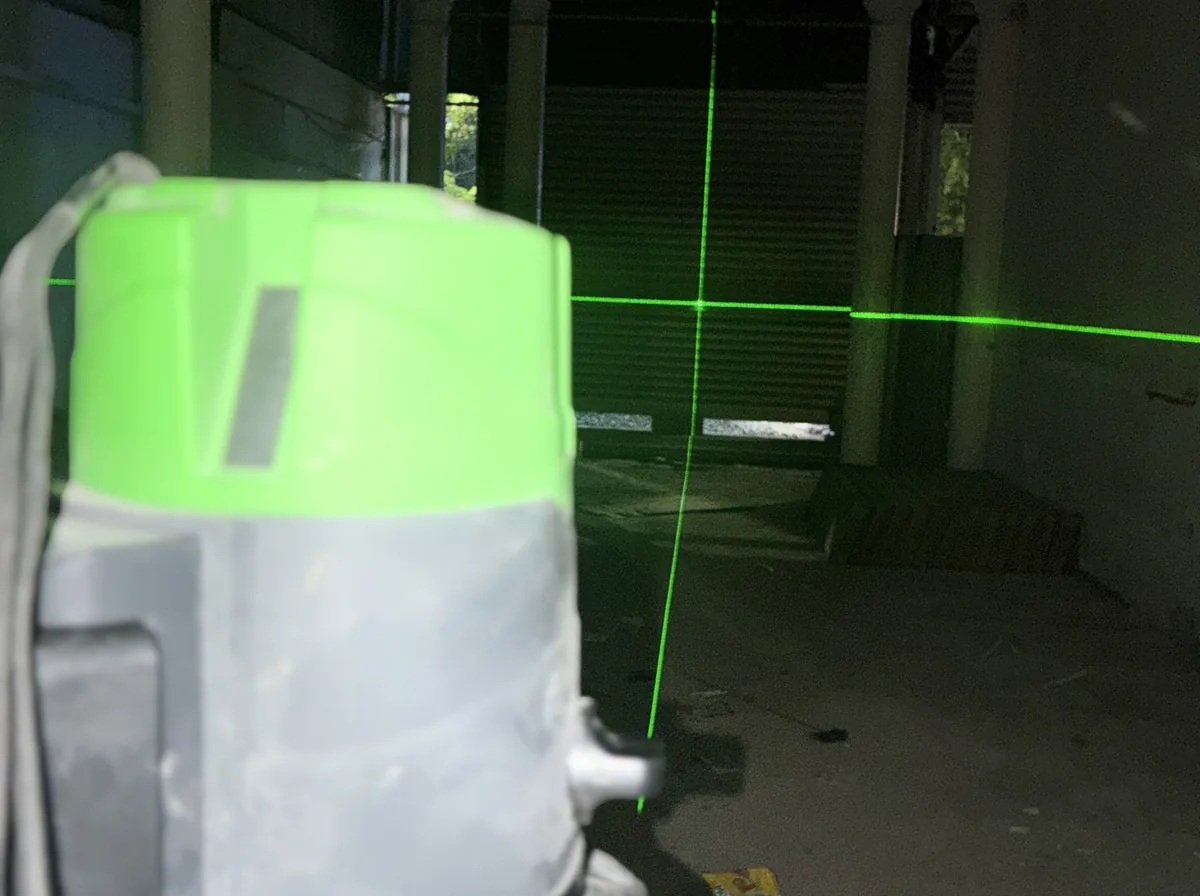
Equipment We Work With
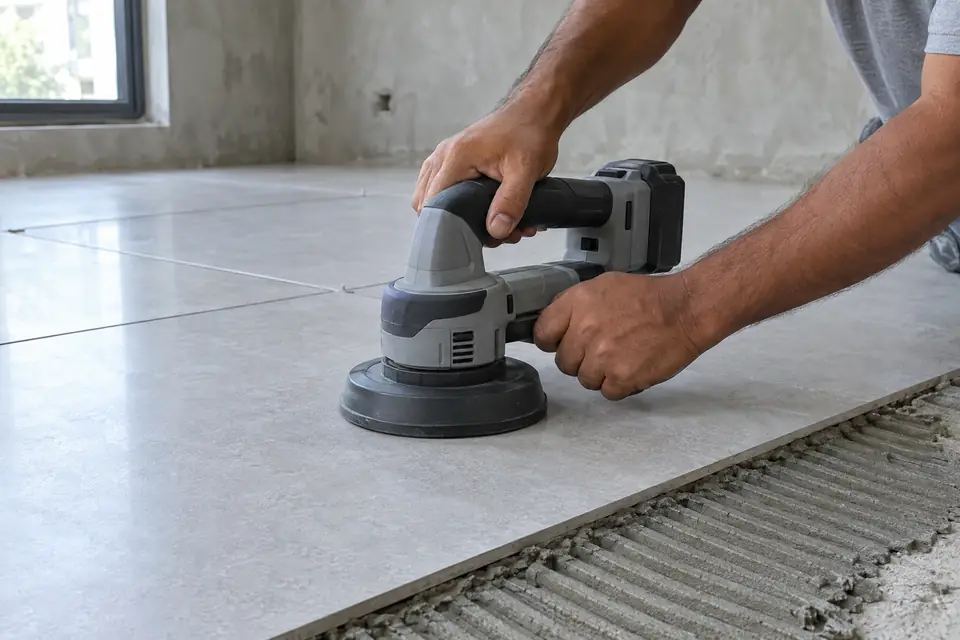
Example photo Tile vibratorSettles each tile or slab into the adhesive bed so there are no hollow spots beneath the surface.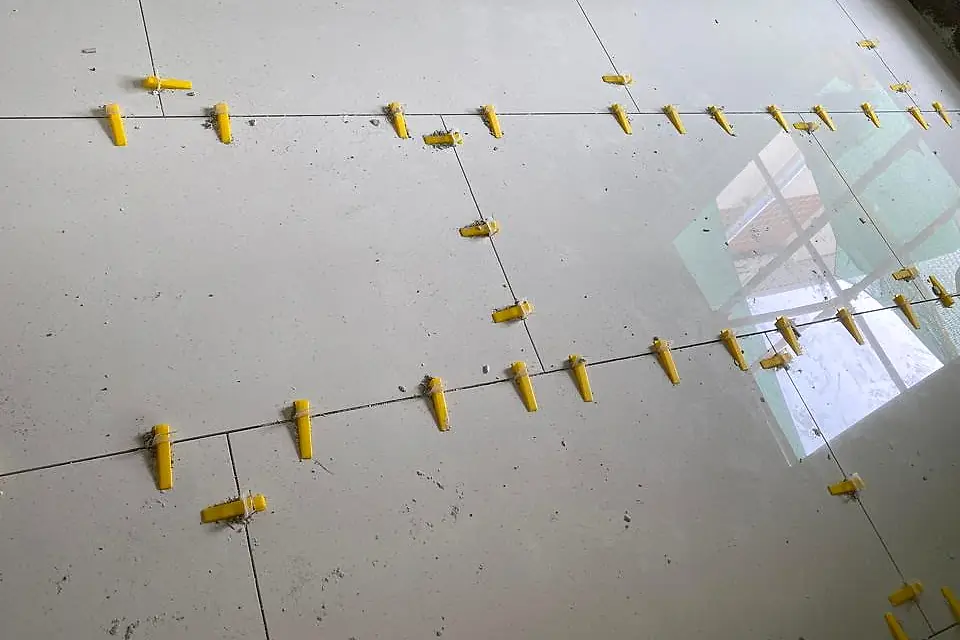
Nexa Floors project Clip & wedge levelling systemHolds neighbouring tiles at the same height while the adhesive cures, for a flat surface and even joints.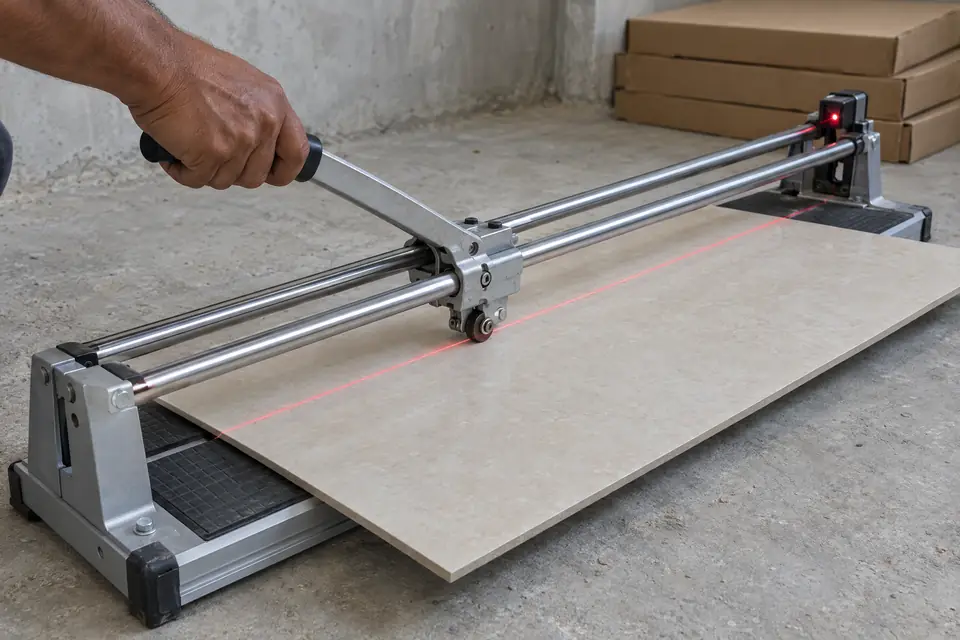
Example photo Laser manual cutterA laser guide on the cutter for straight, accurate cuts on tiles and large-format slabs.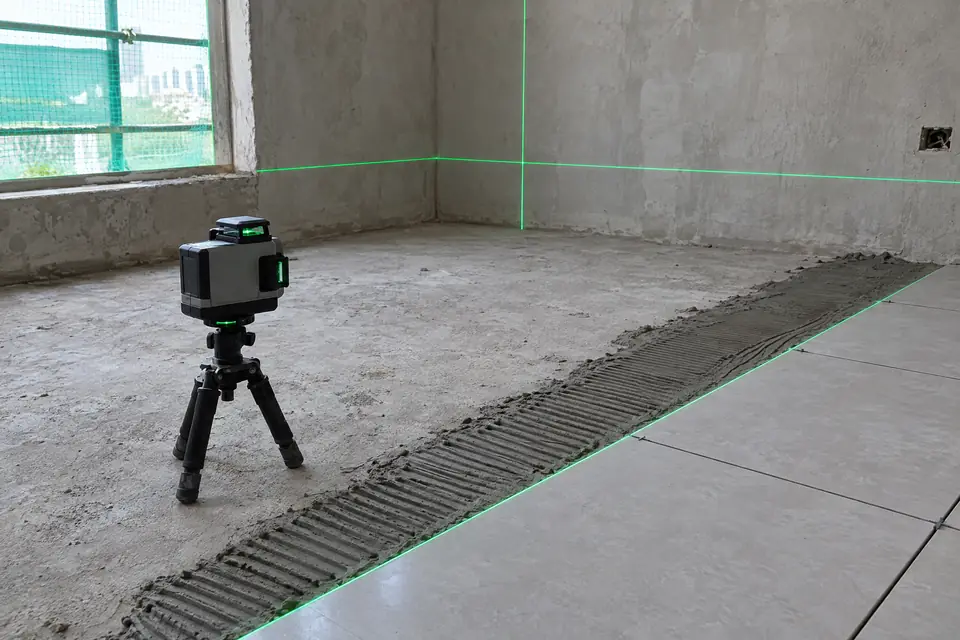
Example photo Laser levelling machineProjects level and plumb reference lines across the room for layout, alignment and floor-level checks.
Advanced Equipment. Experienced Hands. Better Results.
Ready To Transform Your Space?
Get professional flooring installation with careful preparation, precision workmanship and a finish designed around your space.